Compression is a handy technique if you want to share large files over the internet or running out of storage on your device. When you compress a file, unnecessary elements are removed to make its size smaller than the original form. Zip is one of the most commonly usedcompressionformats because of its universal presence and ease of compression.
If you want to create a compressed file but don’t know where to begin, here is a guide on zipping and unzipping dataon Windows and Mac operating systems.

Zip/Unzip files in Windows 10/11
Compressing files and folders in Windows is quite convenient. You can zip any file and folder on your device with easy steps using in-built tools or third-party applications.
Note:You will need to click on “Show more options” in the context menu on Windows 11 to see all the required options.

How To Zip files in Windows 10/11 without WinZip?
To zip a file in Windows 10/11, perform the following steps:
How to zip a file in Windows using WinZip or third-party apps?
Besides using the native Windows zipping tool, you can also use third-party file compression software likeWinZip. There are multiple options available out there. If you are confused about choosing the best, you can check out our list ofbest file compression software.
1 Download and install theWinZip appon your Windows PC.
2 Once installed, navigate to the file/folder that you want to compress.
3 Right-click on the file/folder and hover over the “WinZip” option.

4 Further, click on “Add to name.zip” to zip the file/folder. The “name” will be your file/folder’s name.
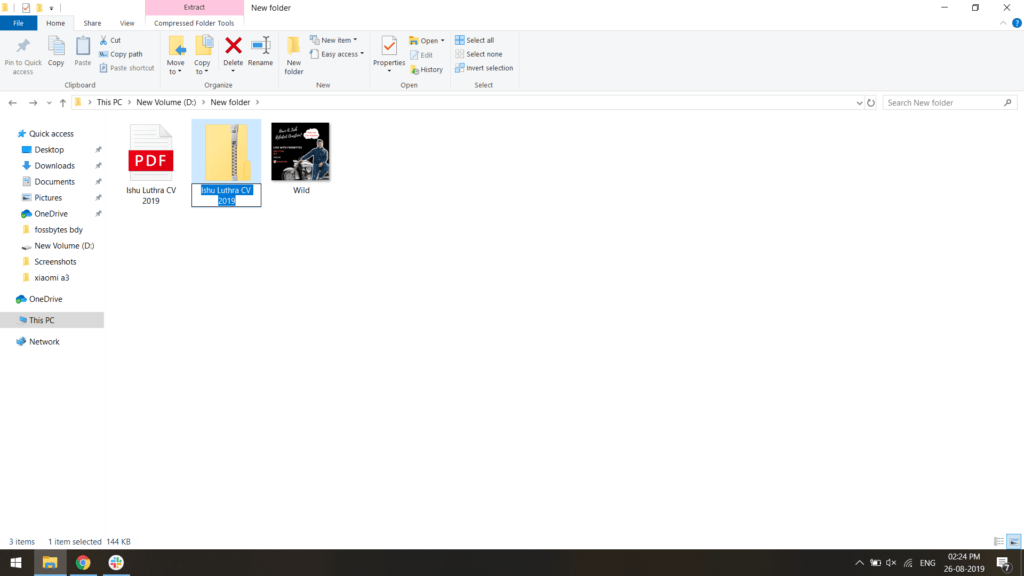
How to unzip a file in Windows?
After zipping, now you want to unzip it and view the contents of the file/folder, then you need to unzip it.
- Firstly, right-click on the file that you want to unzip.
2. Click on the “Extract all” option.
Now, the setup wizard will appear. Choose the location where you want to extract the zip’s contents.
Finally, click on the “Extract” button to unzip the files.
Note:Alternatively, you can use WinZip or any third-party tool to extract the contents of a zip from the context menu.
Also Read:7-Zip vs WinRar vs WinZIP: Choosing The Best File Compression Tool
Zip/unzip files in macOS
Compressing files in macOS is very convenient. macOS offers a zip/unzip feature natively that is efficient and powerful. Read on to find out how to zip/unzip data on macOS.
How To Zip Data In Mac?
These are the following steps to zip data in macOS:
How To Unzip A File In Mac?
Unzipping a file in a Mac device is a fairly easy process. Like Windows, you need to double click on the file to decompress it and view its content. You can also unzip a file by selecting it > right-click > Open With > Archive Utility.
Note: Archive Utility is the default zip software in Mac devices that zips and unzips files/folders.
Zip, Unzip Files Online
In a situation where your operating system’s default zipping software fails to work, you’re able to install third-party software or visit websites that compress data. There are many websites where you can zip, unzip data online. You need to upload the file you want to compress and select the format you want. Many online file compression websites also offer advanced tools for file compression that you can use.
Also Read:How To Compress Drive To Save Disk Space Using NTFS Compression?
Frequently Asked Questions
You can zip/unzip files by right-clicking on them and using the context menu.
You can do so by right-clicking on the zipped file and unzipping it.
If you’re unable to unzip a file, the zipped file may be password protected or corrupted.
